
If you start a new project using Angular CLI, you will notice that it comes with a default app that has a “src” folder. Angular uses this folder to act as a root location for your app so that you can access the same starting point no matter where you are in your folder structure.
But what if you want to share the same starting point across multiple apps?
After realizing how unbelievably awesome Angular is, you may decide that you want to create multiple apps within the same project workspace but for obvious reasons don’t want to duplicate the same assets over and over. It would seem as though you could just create one assets folder that sits one level above your apps, have all of your apps link to it and be fine. However, by clever design, Angular restricts one source folder per app out of the box that won’t recognize anything outside of its source folder, so you will have to do a little more fanagling to override those protective default behaviors.
Step 1: Create a new project without a default app
When you create a new Angular project, specify that you don’t want to create a default app with the following flag:
ng new [workspace name] --create-application=false
Read this great article by Todd Palmer for a further explanation of other uses of this flag.
Note: Be sure to use a workspace name that is broad enough to encompass all of your apps because you can’t reuse that same name for an app later on. Really, that name won’t really matter but why not have it make sense regardless?
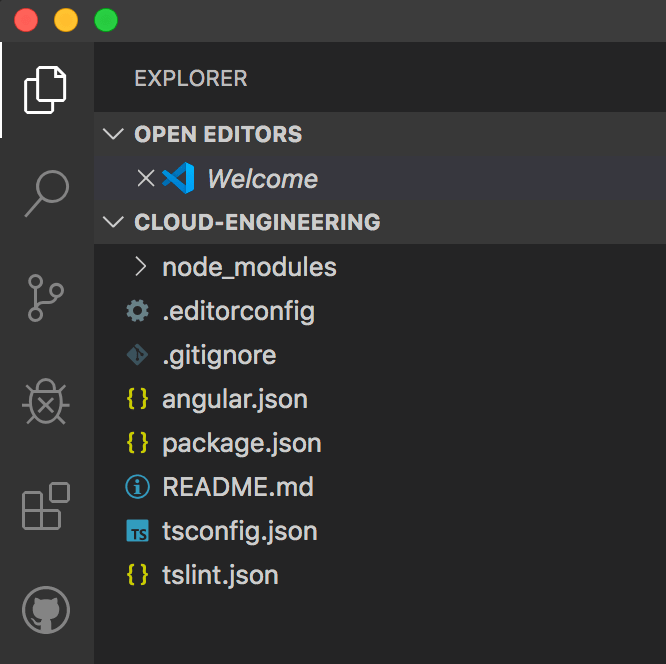
You will end up with a seemingly barren Angular project that looks like this:
Step 2: Create your apps
Create as many apps to your heart’s delight using Angular CLI:
ng generate app [app name]
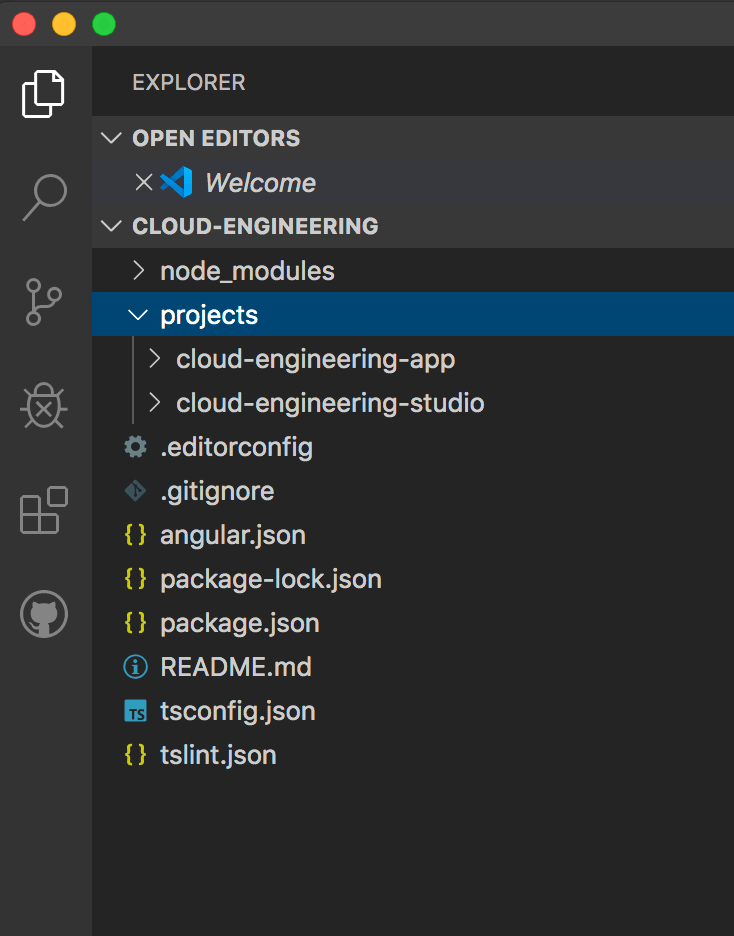
You will notice that the apps will be created in your “projects” folder, the same as if you were creating a library.
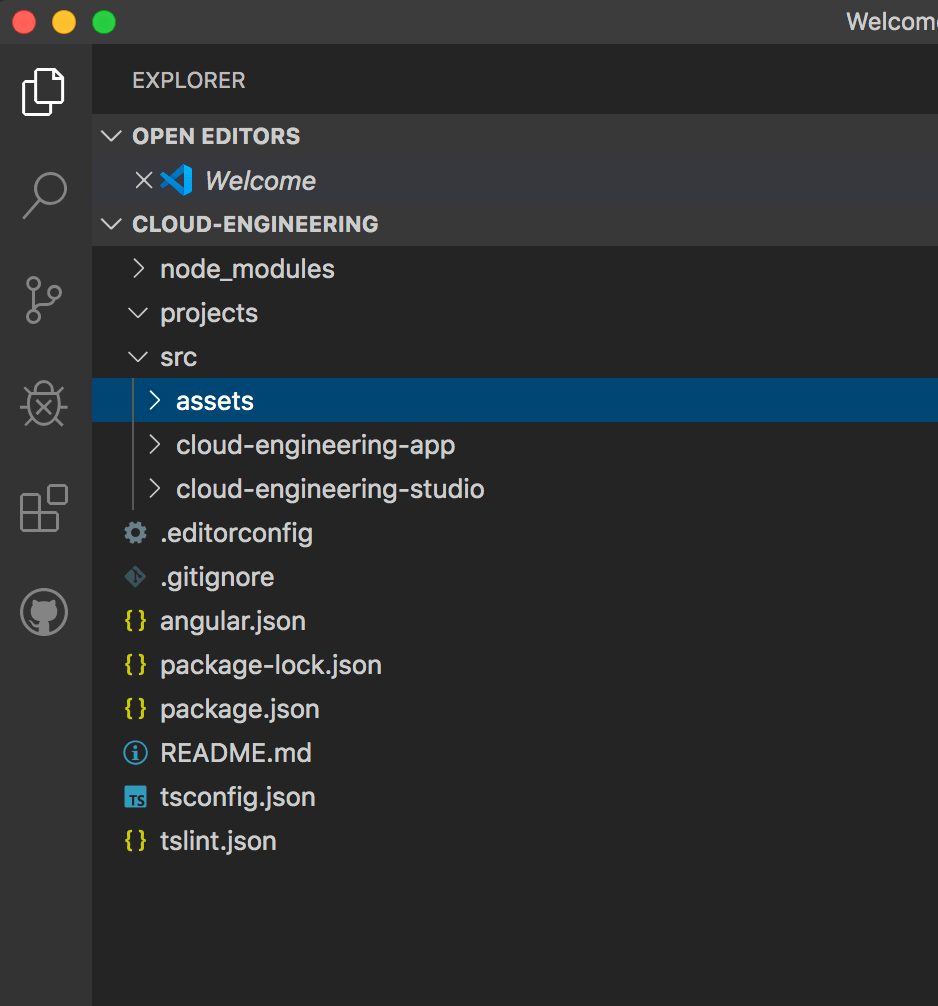
Step 3: Create a shared “src” folder at the same level as the “projects” folder
Note: There is essentially no difference in having your apps have “projects” or “src” as their root folder location. However, if you want to easily differentiate your apps from your libraries, you will have to create a shared “src” folder and then drag your apps into that folder.

Step 4: Modify “angular.json”
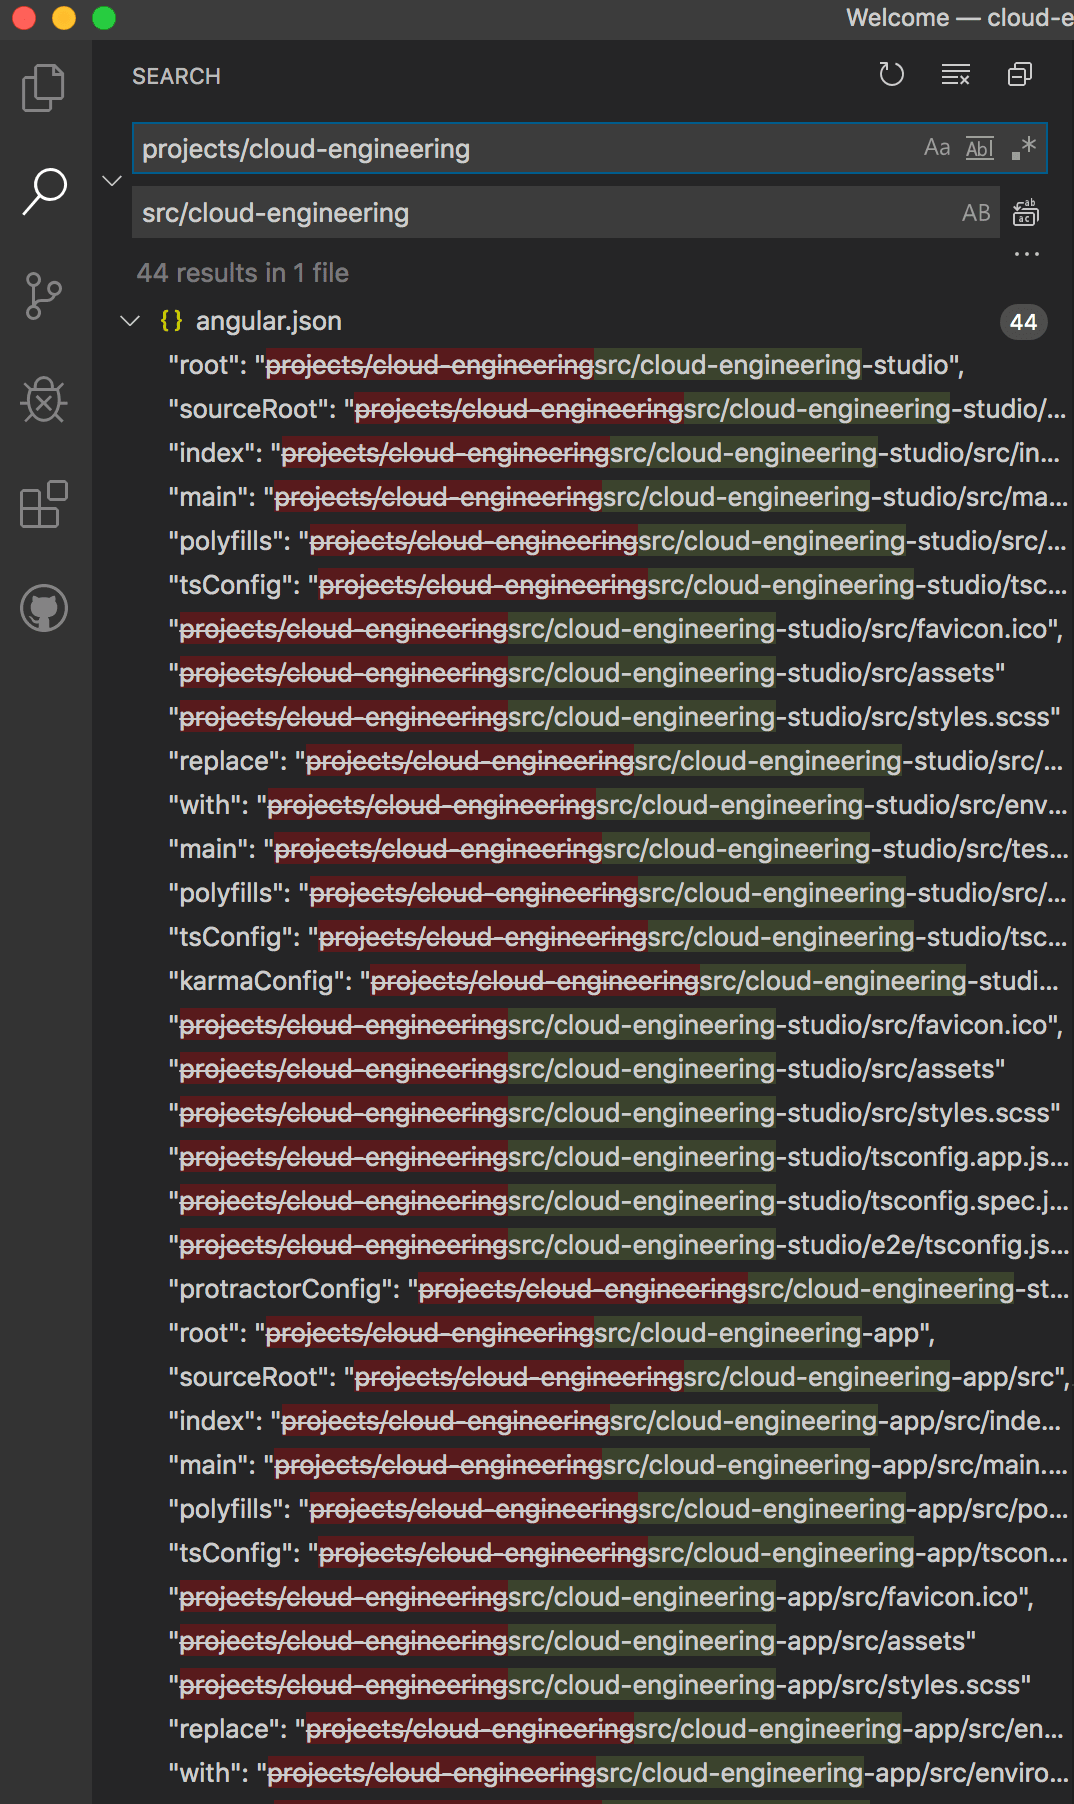
Do a find-and-replace search for “projects/app-name” to be replaced by “src/app-name.”
Note: This replacement must be made in all instances of your “angular.json” file (e.g., 44 results for 2 apps), or else your apps will break! Don’t rely on eyeballing on where to make the replacements.
Step 5: Create an assets folder
Create an “assets” folder that sits at the same level as your apps.
Step 6: Modify “angular.json”
You now have to tell Angular the new location of your “assets” folder by replacing the current assets link with the new one. You can do this by locating the “assets” section in each app and replacing the existing code with the following lines of code:
Before:
    "assets": [
      "src/cloud-engineering-studio/src/favicon.ico",
      "src/cloud-engineering-studio/src/assets"
    ],
After:
     "assets": [
          { "glob": "**/*", "input": "src/assets/", "output": "/assets/" },
          "src/cloud-engineering-studio/src/favicon.ico"
        ],
This replacement must be made in both locations for each app because the first location is for the app and the second one is for testing the app.
Note: Because I want each app to have a different favicon, I kept the different favicon links. If you do so, make sure you reverse the order of the two statements.
Step 7: Use your new “assets” folder
Now, you can use your new “assets” folder the same way for each app, and they will all link to the same spot. For example, to link to an image, you can just write:
"/assets/file-directory/file-name.jpg"
To import a stylesheet that’s located in the assets folder, you can form your import statement like so:
@import "src/assets/file-directory/file-name.scss"
Leave a Reply
You must be logged in to post a comment.